




How to Care for Muddy, Wet XC Shoes
BlogOutdoorProduct Reviews/Top Ten Lists/Resources/TipsRankingsStaffPicksXC-Track-Running October 29, 2026 Lauren Keating 0
Rainy-weather races happen. And while runners can’t control the weather, we can come prepared. Dry socks and a change of shoes feel pretty good after crossing a muddy finish line. But once you get home, those soaked cross country shoes still need some love and care.
It’s tempting to leave everything in your gym bag and deal with it later. However, taking a few minutes to unpack and clean your shoes gives them more time to dry before your next practice or meet.
Step 1: Pack at the Meet
Start by packing for the trip home. Along with dry socks, bring sneakers or recovery slides to change into after the race. Keep a separate bag for your wet shoes so mud doesn’t end up on your clothes, snacks and everything else you brought to the meet. A gym bag with a separate shoe compartment works, too. Just remember to empty it when you get home.
Step 2: Unpack and Remove Insoles
Once you’re home, put wet socks and clothes in the laundry and take your shoes out of the bag. Loosen the laces and open up the tongues. Remove the insoles if they’re designed to come out so they can dry separately. If they’re glued in, leave them in place.
Step 3: Brush away Loose Dirt, Wipe Mud
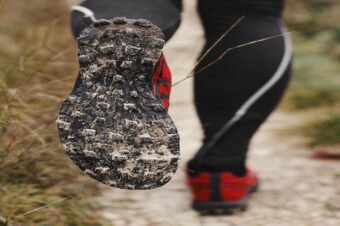
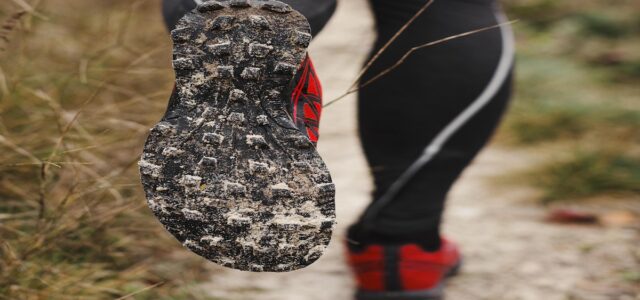
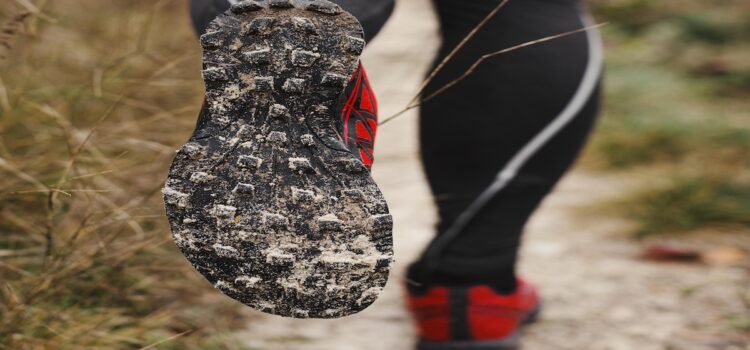
Next, tackle the dirt. Use a soft brush to gently remove loose dirt from the bottoms of the shoes, paying attention to the grooves where mud and small stones collect. An old toothbrush can help with smaller spaces.
Wipe the uppers with a damp cloth. If the manufacturer’s care instructions allow it, use a little mild soap on areas that need more cleaning. Wipe away the soap residue without soaking the whole shoe. Always hand clean and avoid full submersion.
Don’t stress over every grass stain. Cross country shoes are going to get dirty. Focus on removing the mud and debris without scrubbing the fabric so hard that you damage it.
Step 4: Spike Care
Runners wearing XC spikes have one more step. Brush dirt away from the spike plate and around each pin. If the pins are removable, take them out with the appropriate spike wrench, wipe them clean and dry the threaded openings. Let everything dry before reinstalling the pins according to the manufacturer’s instructions. Leaving metal pins and sockets wet can lead to rust and make them difficult to remove.
Step 5: Stuff and Leave to Dry
For drying, reach for a towel first. Blot away excess moisture, then place paper towels, crumpled newspaper or a dry washcloth inside each shoe. Check the stuffing and replace it when it becomes damp
Leave the shoes in a ventilated area at room temperature, with the removable insoles drying separately. Keep them away from radiators, hot hair dryers and direct sunlight. Excessive heat can damage shoe materials and glue.
A few shortcuts are worth skipping:
- Putting running shoes in the washing machine or dryer.
- Using bleach or harsh cleaning products.
- Scrubbing delicate fabric aggressively.
- Leaving damp stuffing inside the shoes.
- Packing shoes away before they’re dry.
Give your shoes overnight to dry, but check them before heading to practice. A soaked pair may need longer. Feel inside the toe box and check the insoles instead of judging only by how the outside looks.
If they’re still damp and you have another suitable pair of training shoes, wear those while the wet pair finishes drying. Once your cleaned shoes are dry, replace the insoles, adjust the laces and pack them for your next run.

No comments so far.
Be first to leave comment below.